The bearing is the most important thing for a skateboard. If your ride feels slow or noisy, your bearings might be worn out or not properly seated. Installing new bearings is easy, even if you’re just starting. If you don’t know how to install bearings, this article is for you.
With the proper steps and simple tools, you can get your wheels spinning smoothly again.
In this article, I’ll show you how to install bearings in skateboard wheels in just a few easy steps.
Ready to get your board rolling smoothly again? Take your board, and let’s dive in.
Importance of Proper Installation of Bearings in Skateboard Wheels
Installing bearings the right way keeps your ride smooth and safe. Poor installation can lead to unstable wheels, slower spins, or even damaged bearings. If the bearings aren’t seated properly, they can wear out faster or make your wheels stick.
Learning the proper way to install bearings helps prevent problems before they start. It also helps your board last longer and perform better. If you’re a beginner or doing a DIY skateboard bearing install, pressing the bearings in evenly makes a big difference.
Types of Skateboard Bearings
Not all skateboard bearings are the same. The type you choose can change how your board feels under your feet.
While most of the bearings are the same size and fit all wheels, their materials and design make a difference in speed, smoothness, and durability. If you’re doing tricks, cruising, or bombing hills, picking the right bearing matters.
Here’s a quick breakdown of the most common types of bearings used in skateboarding:
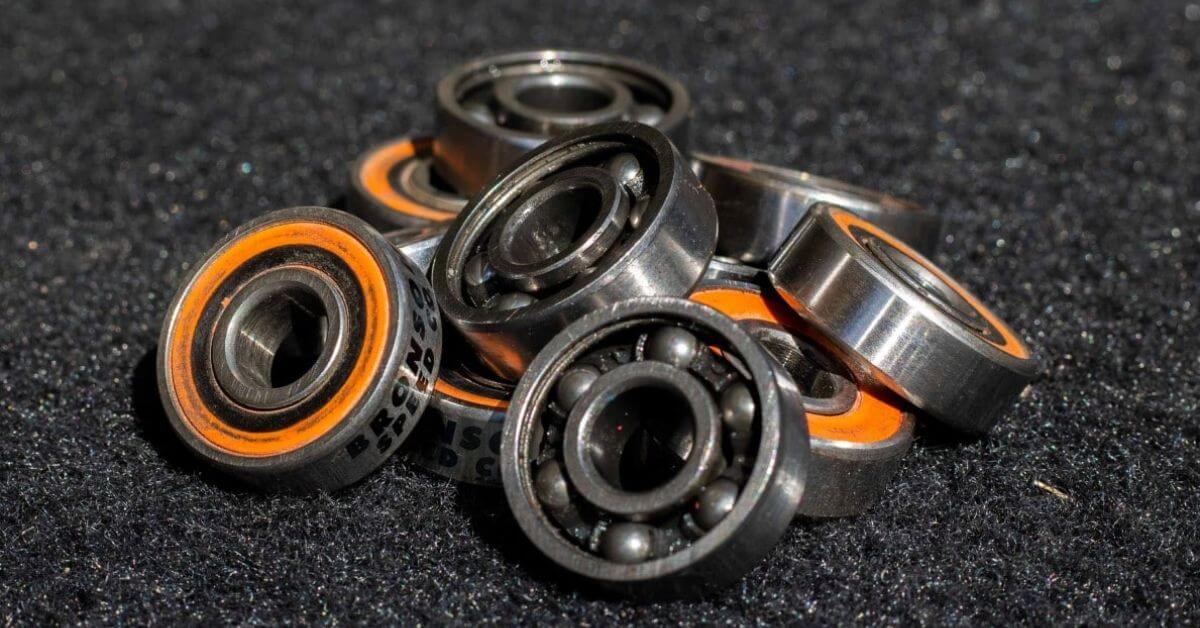
- Steel Bearings: The most common and affordable option. Durable and great for everyday use.
- Ceramic Bearings: Smoother, lighter, and more heat-resistant than steel. Popular for speed and long-distance riding.
- Titanium Bearings: Strong and rust-resistant. A good balance between durability and performance.
- Swiss Bearings: Known for high precision and quality, and often used by pros for speed and smooth performance.
- ABEC-Rated Bearings: Come with a rating like ABEC-3, 5, 7, or 9. Higher numbers generally mean more precision, though not always better for skating.
- No-Rating Bearings (Skate Rated™): Some brands skip the ABEC scale and focus on performance built just for skating.
Each wheel uses two bearings, and most setups include a bearing spacer in between. Together, these parts form the heart of your skateboard wheel assembly with bearings. Each type has its feel, so think about how you ride before choosing. If you’re installing new bearings in wheels or upgrading, it’s good to know your options.
What You’ll Need to Install Bearings
Before you start, make sure you’ve got all the right parts and tools. Don’t worry, there’s nothing fancy here. Just a few basics you probably already have, and you’re good to go. Here are the tools for skateboard bearing installation:
- 8 skateboard bearings (2 per wheel)
- 4 skateboard wheels
- A skate tool or wrench
- Bearing spacers and speed washers
- Optional: A skateboard bearing press
That’s all you need. You may also have to clean your bearings if you’re replacing old ones.
Step-by-Step Guide for How to Install Bearings in Skateboard Wheels
Changing bearings might sound tricky, but it’s quick and simple. You don’t need fancy tools, just a little pressure and some patience. Here’s a beginner-friendly, step-by-step breakdown of the best way to install skateboard bearings.

Step 1: Remove the Wheel
Grab your skate tool or wrench and unscrew the axle nuts. Slide the wheels off your trucks. If you’re replacing bearings, you can gently use the axle to pop out the old ones.
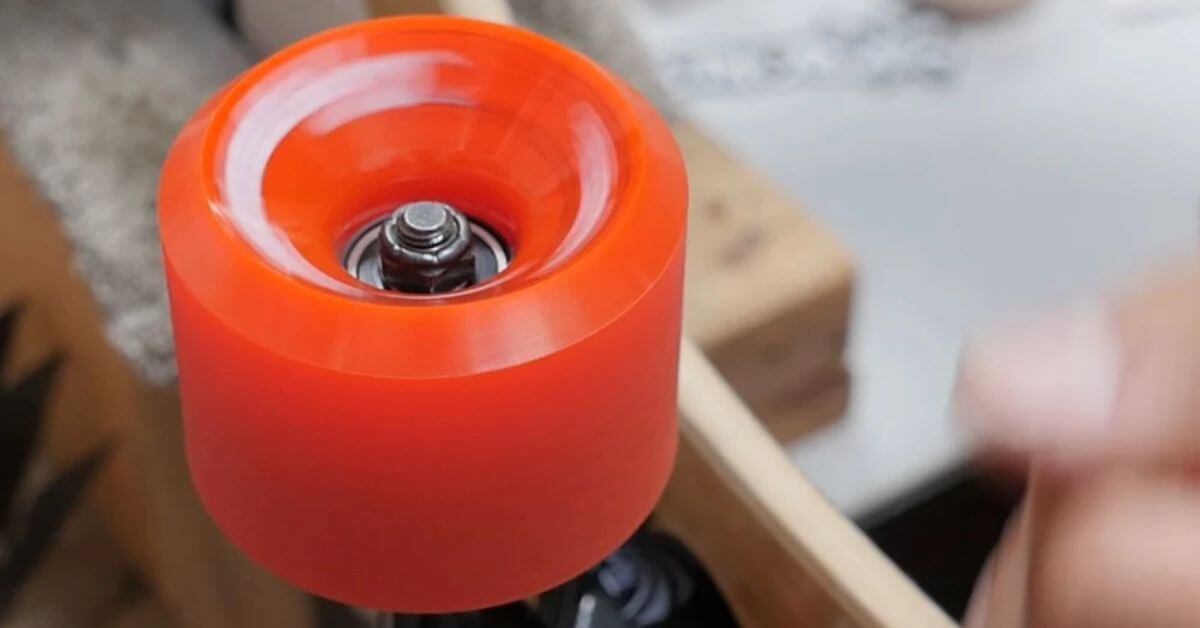
Step 2: Place a Bearing on the Truck Axle
Slide a new bearing onto the axle. The shield side (usually the colored or flat side) should face out. This method replaces a skateboard bearing press with the truck itself.
Step 3: Press the Bearing into the Wheel
Place the wheel on top of the bearing. Press down using your hands or body weight. You’ll feel it snap into place. This is the easiest way to press bearings into wheels.
Step 4: Insert a Bearing Spacer (Optional)
If you’re using bearing spacers for skateboard wheels, drop one inside the wheel now. Spacers help keep the bearings aligned and reduce pressure during turns.
Step 5: Install the Second Bearing
Flip the wheel over. Place another bearing on the axle and press the wheel down again. You now have a bearing on each side. That’s how simple inserting bearings into skateboard wheels can be.
Step 6: Reattach the Wheels
Slide a speed washer onto the axle, then put the wheel back on. Add another washer, screw the axle nut back on, and tighten it just enough so the wheel spins freely but doesn’t wiggle.
Step 7: Spin and Test
Give the wheel a spin. If it turns smooth and quiet, you’ve done it right. If it feels stuck or noisy, check that both bearings are fully seated.
You’ve just finished your own DIY skateboard bearing install, no fancy tools are needed. If you want a smoother ride or are doing regular skateboard maintenance and bearing installation step by step, repeat this process every time you switch out wheels or clean your setup.
Should You Use a Bearing Press?
A bearing press is a simple tool that helps you put bearings into skateboard wheels easily and straight. It presses the bearings in evenly and quickly.
Do you need one? Not really. Most skaters install bearings without tools. But if you install a lot of bearings, a skateboard bearing press can save time. That’s why you need to know how to use a bearing press properly.
Some bearing installation tools also help you remove old bearings. These tools can prevent damage during bearing installation and removal.
Raleted Article: How to Easily Install Trucks on a Skateboard!
Bonus Tips for Installing New Bearings on Skateboard Wheels
Installing new bearings doesn’t have to be tricky, but a few simple tips can help you do it right. These small steps can make your wheels last longer and roll smoothly. Whether you’re using a skateboard bearing installation tool or doing it by hand, here’s how to get the best results:

- Press bearings straight: Avoid forcing them in at an angle. That can damage the shield or misalign the bearing.
- Use your trucks or a bearing press: Both work fine. A bearing press for skateboards gives more control, but it isn’t required.
- Don’t skip the spacers or washers: Bearing spacers and speed washers help reduce stress and keep your ride smooth.
- Clean your bearings before installing: Knowing how to clean skateboard bearings helps avoid drag and rust if you’re reusing old ones.
- Check the fit: After pressing both bearings in, spin the wheel. If it wobbles or sticks, press it down again gently.
These tips will help you avoid damage during bearing installation and keep your wheels riding smoothly for longer.
Frequently Asked Questions About How to Hang a Skateboard on the Wall
How to replace bearings in a skateboard?
Take off the wheels, remove the old bearings, clean the hub, and press in new ones. Reattach the wheels and you’re back in action.
Do I need spacers for skateboard bearings?
Spacers aren’t a must, but they help big time. They keep bearings aligned, reduce wear, and let your wheels spin smoother, especially during hard turns or slides.
How to remove skateboard bearings?
Slide the wheel partway onto your truck axle, then tilt and twist until the bearing pops out. Flip the wheel and repeat. No tools? No problem. Your truck is all you need.
Can I clean bearings before reinstalling them?
Yes! Remove the shields, soak the bearings in cleaner, dry them fully, and add a few drops of skate lube. Cleaning bearings before installing helps them last longer.
Should I use lubricant when installing new bearings?
New bearings usually come pre-lubed. If they feel dry, you can add a drop or two of skate-specific oil before installing new bearings in the wheels.
Final Thoughts
Getting your bearings right makes a big difference. Your wheels will roll smoother, your ride will feel faster, and tricks will snap better. Whether you’re just learning or skating every day, taking care of your gear is key. And now that you know how to install bearings in skateboard wheels, you’ve got one more skill in your skate tool kit.
Before you roll out, double-check everything. Make sure the bearings are snug, the wheels spin freely, and nothing feels loose. Take care of your board, and it’ll take care of you. Now get out there and skate!