Skateboard bearings are the unsung heroes of your setup. They make your wheels spin smoothly and let you ride faster. But over time, dirt and grime can mess them up. That’s why you need to clean skateboard bearings. It’s simple, cost-effective, and keeps your board performing at its best.
In this guide, I will walk you through the process step by step. If you’re new to skateboarding or a seasoned skater, you’ll find it easy to follow.
So, are you ready to clean your bearings? Then, follow the easy steps below, and let’s get started!
When Should You Clean Skateboard Bearings?
Not sure if your bearings need cleaning? Look out for these signs of dirty bearings:
- Grinding or squeaking sounds when you are skateboarding.
- The wheels stop spinning quickly.
- Bearings feel gritty or slow when you turn them by hand.
- Visible dirt or rust on the bearing shields.
Clean your bearings every 1-2 months if you skate often, especially if you ride through dirt, sand, or water. Regular skateboard bearing maintenance can save you from replacing them too soon.
What Materials You’ll Need to Clean Skateboard Bearings
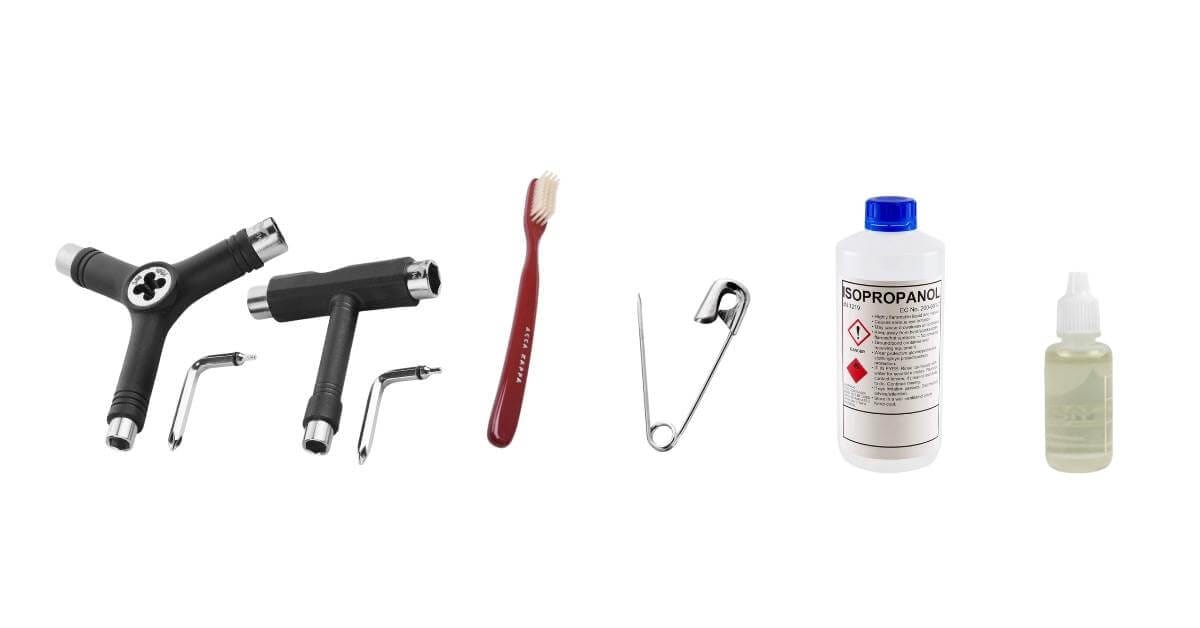
Here’s what you need for cleaning skateboard bearings:
- Skate Tool or Wrench: To remove the wheels.
- Razor Blade or Safety Pin: To take off the shields.
- Toothbrush or Rag: For scrubbing grime.
- Isopropyl Alcohol or Acetone: To dissolve dirt and grease.
- Container or Bowl: For soaking the bearings.
- Bearing Lubricant: Like Bones Speed Cream or Bronson High-Speed Oil.
- Paper Towels: For drying and cleaning.
- Compressed Air or Hair Dryer (Optional): To dry bearings faster.
How to Clean Skateboard Bearings: Step-by-Step Process
Keeping your bearings clean is key to a smooth ride. Dirty bearings can slow you down or make your board feel rough. In this section, I will show you how do you clean skateboard bearings. Follow these easy steps to get them spinning like new again.

Step 1: Remove Wheels and Bearings
First, grab your skate tool to unscrew the axle nuts. Next, carefully slide the wheels off the truck axles.
Keep washers and nuts in a tray so you don’t lose them. Pry the bearings out of the wheels using the truck axle or a bearing removal tool.
Step 2: Remove the Shields for Cleaning your Skateboard Bearings

Now that the bearings are out, it’s time to remove the shields. Bearings have rubber or metal shields that protect the internal components. Carefully pop off the shields with a razor blade or safety pin.
Using a razor blade or safety pin, carefully pop them off. Avoid bending them, you’ll need them for reassembly. Place the shields in a safe spot.
Step 3: Pre-clean the Bearings
Before you dive into deep cleaning, start by wiping the outside of the bearings with a rag or toothbrush. This will help remove loose dirt and grime.
Step 4: Soak the Bearings

Next, you need to fill a container or bowl with isopropyl alcohol or acetone. Place the bearings in the solution and let them soak for at least 15-30 minutes.
Then, swirl the container occasionally to loosen the dirt. For stubborn grime, gently scrub the bearings with a toothbrush while they’re in the solvent.
Step 5: Shake and Dry the Bearings
After soaking, shake the bearings in the solvent to dislodge any remaining debris. Remove them from the solution and place them on a paper towel.
Then, use compressed air or a hair dryer to ensure the bearings are completely dry. Spinning the bearings can help remove trapped moisture.
Step 6: Clean Skateboard Bearings with Isopropyl Alcohol
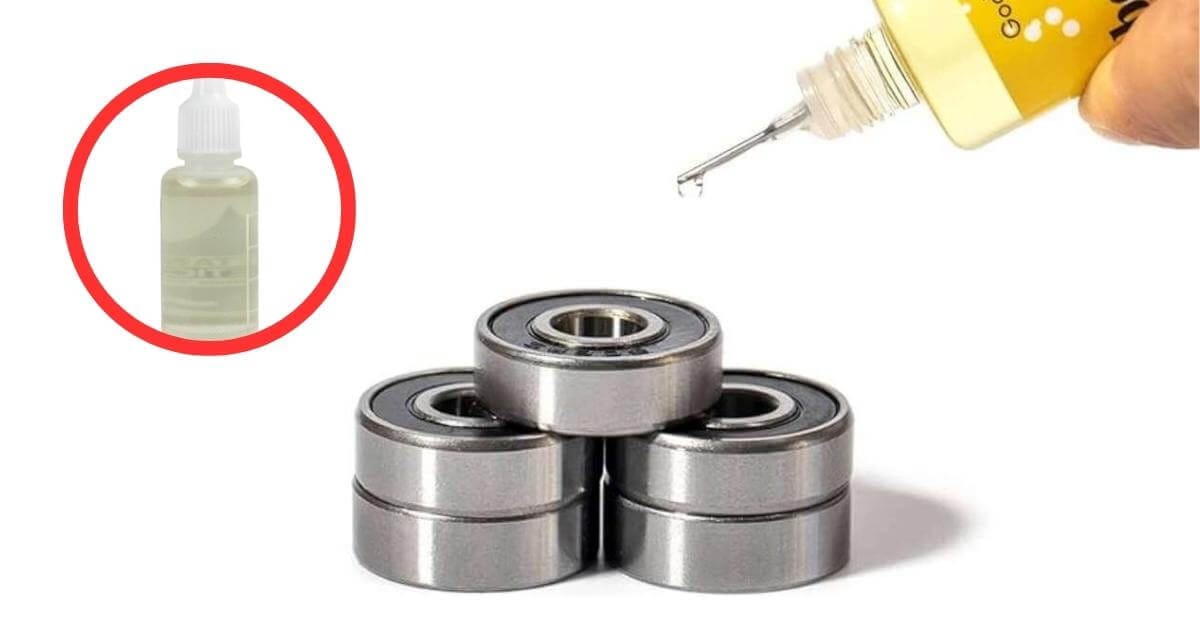
Now that the bearings are clean and dry, add 1-2 drops of bearing lubricant to each bearing. Next, spin the bearing to evenly distribute the lubricant.
Remember, avoid using WD-40, as it’s unsuitable for lubricating skateboard bearings. Proper lubrication keeps your bearings smooth and prevents rust.
Step 7: Optional: Clean the Wheels

While cleaning your bearings, it’s a good idea to clean your wheels too. First, remove any debris, like rocks or dirt, stuck in the wheel surface using a brush or a sharp tool. Then, use a damp cloth or soapy water to wipe down the wheels thoroughly.
Avoid soaking them to prevent damage. Let the wheels dry completely before reassembling them. Clean wheels not only look great but also provide better grip and a smoother skateboard ride!
Step 8: Reassemble and Test
Finally, it’s time to put everything back together. Snap the shields back onto the bearings. Press gently until they click into place. Insert the bearings back into the wheels.
Slide the wheels onto the truck axles, ensuring the washers are in the correct position. Tighten the axle nuts, leaving enough room for the wheels to spin freely. Spin the wheels to check if everything feels smooth.
Related Article: How to Clean Skateboard Griptape?
Extra Bonus Tips: Always Keep Your Skateboard Bearings Clean

- Avoid water and sand: These can ruin your bearings quickly.
- Invest in quality bearings: Higher-grade bearings last longer and perform better.
- Store your board indoors: Moisture can cause rust.
- Use spacers: These help distribute weight evenly and reduce wear.
Frequently Asked Questions (FAQs) About Clean Skateboard Bearings
How often should i clean my skateboard bearings
Clean your bearings every 1-2 months or whenever you notice signs of dirty bearings.
Can I use WD-40 to clean or lubricate bearings?
No, WD-40 is not recommended. It’s better to use a skate-specific lubricant like Bones Speed Cream.
What’s the best solvent for cleaning skateboard bearings?
Isopropyl alcohol or acetone works best. Avoid water-based cleaners, as they can cause rust.
How do I know if my bearings need to be replaced?
If your bearings don’t spin freely after cleaning or show signs of rust or damage, it’s time to replace them.
Do I need to remove the shields for cleaning?
Yes, removing the shields allows for a deeper clean. You can reattach them after cleaning.
Summary
Cleaning skateboard bearings is a simple process that keeps your ride smooth and fast. Following this guide will save money, extend your bearing life, and enjoy better performance. Make it a habit to clean your bearings regularly, and they’ll keep you rolling for years to come.
Now that you know how to clean skateboard bearings, grab your tools and get to work! Your board will thank you.