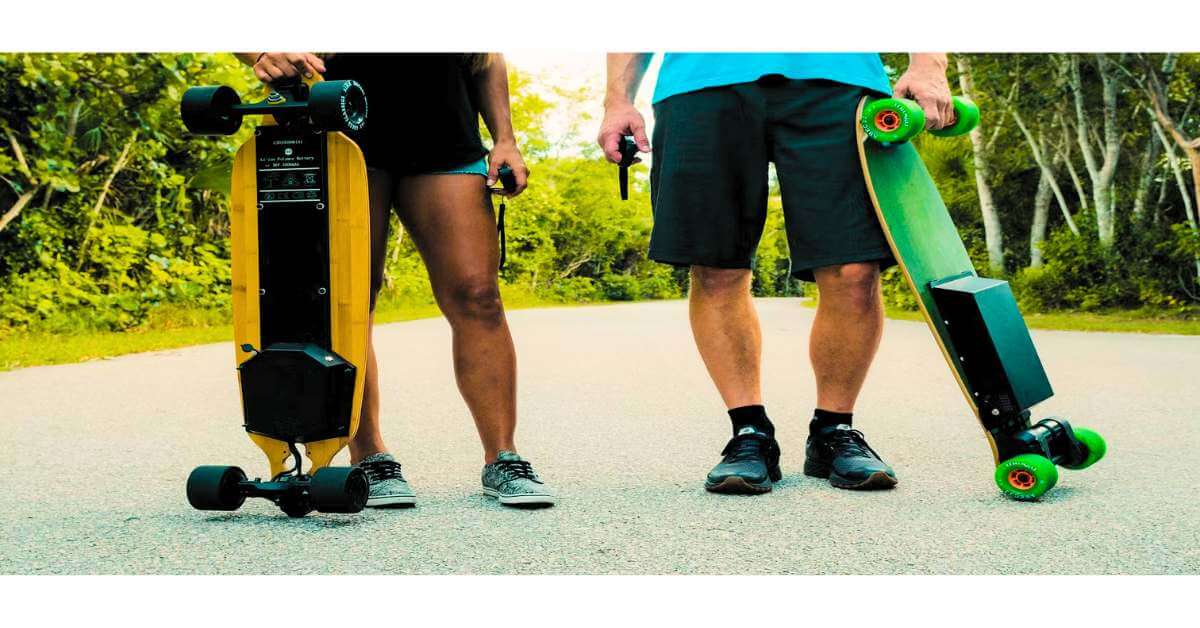
Have you ever wanted to ride an electric skateboard that you built with your own hands? It’s easier than you think! A DIY electric skateboard is not only fun to ride but also fun to make. By building it yourself, you can save money and choose the parts you like best.
You don’t need fancy tools or a tech background. To build a DIY E-Skateboard, you need just a few parts, some basic steps, and a little time.
In this guide, I’ll walk you through every step. From picking the right deck to wiring the motor and remote, I’ll make each step simple and clear. If you can use a screwdriver and follow easy instructions, you can build this board.
So grab your tools, pick your parts, and get ready. Let’s get started!
Benefits of Building Your Own Electric Skateboard
Building your own electric skateboard offers several benefits.
- Customization: You can choose the components that best suit your needs and preferences, allowing you to create a unique skateboard.
- Cost Savings: Building your own electric skateboard can be more cost-effective than buying a pre-made one, as you can source the components individually and compare prices to find the best deals.
- Learning Experience: By building your own electric skateboard, you gain valuable knowledge about the mechanics and electronics involved, which can be helpful for future repairs and modifications.
- Fulfillment: A sense of accomplishment and satisfaction comes from successfully building and riding a skateboard you have assembled.
- Upgradability: As technology evolves, you can upgrade and improve your skateboard’s components, keeping it up-to-date and extending its lifespan.
Considering these benefits, you can embark on the exciting journey of building your own DIY electric skateboard.
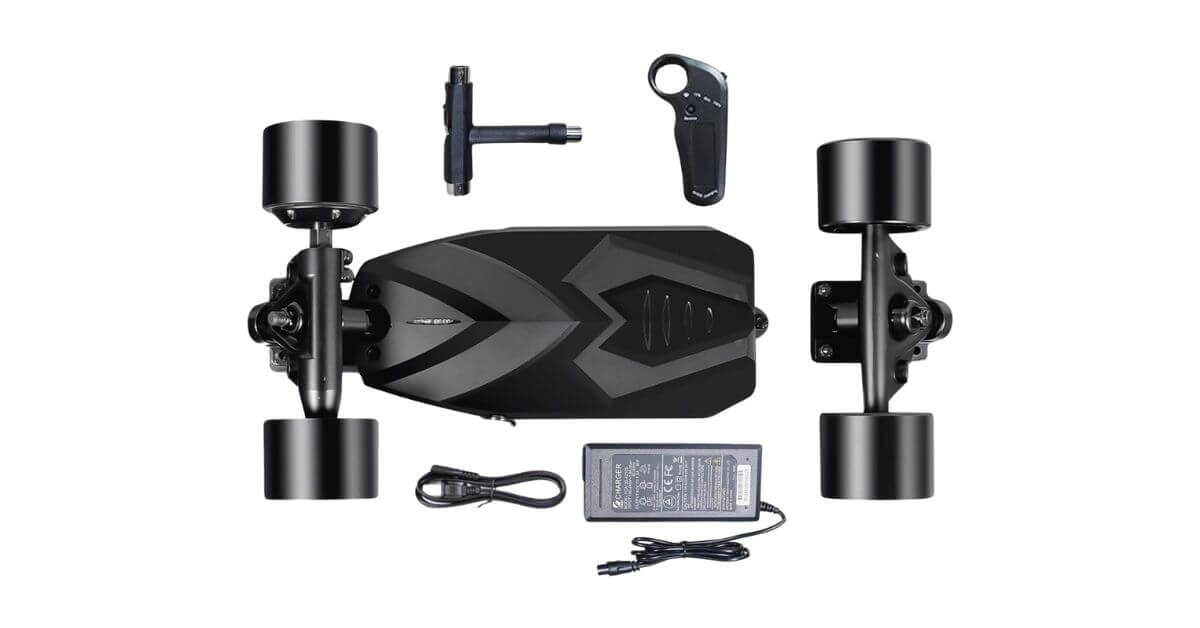
Required Materials for Building a DIY Electric Skateboard
To build a DIY electric skateboard, you will need several materials. There are two types of materials to build your own electric skateboard.
Mechanical Components
Mechanical components play a crucial role in building a DIY electric skateboard. It is the function of machines. Let’s dive into the Mechanical Components:
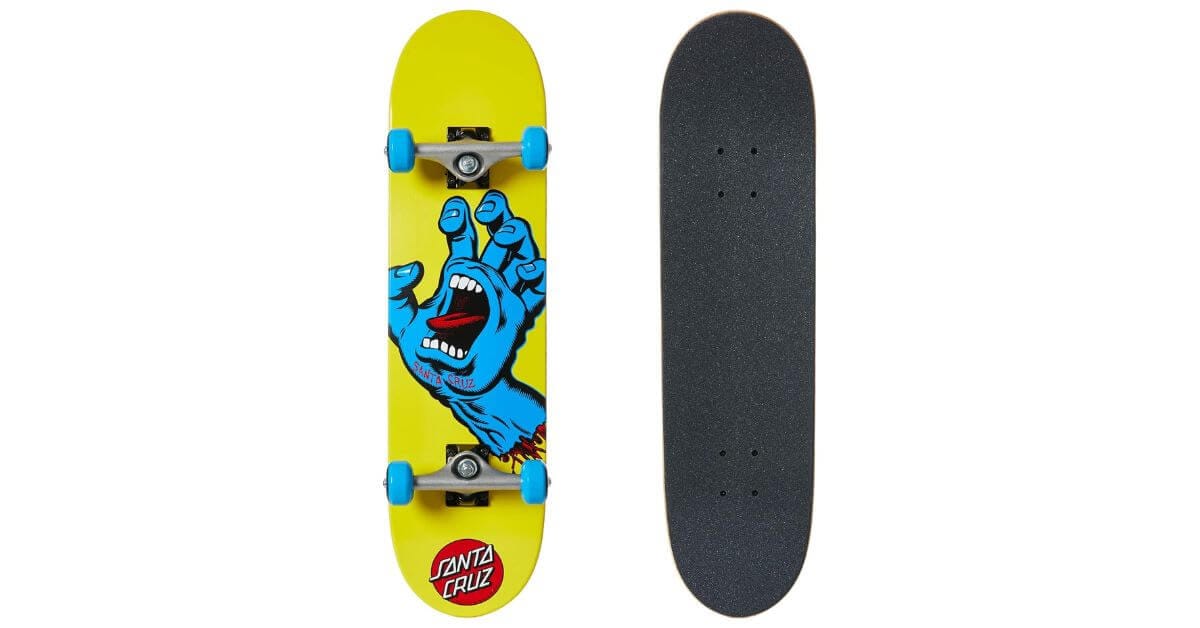
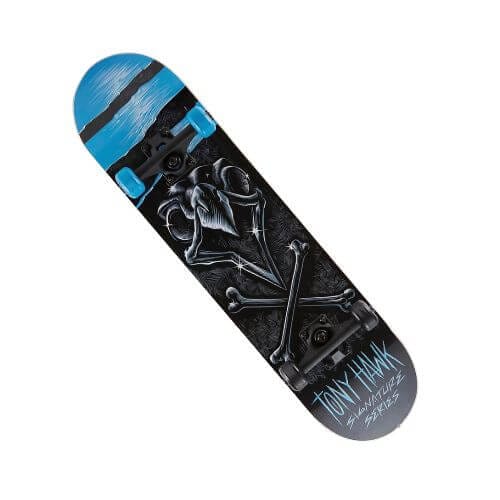
1. Deck
When choosing a deck for your DIY electric skateboard, it’s essential to consider the materials, shape, and size.
Look for a deck made of sturdy and durable materials like maple or bamboo. The deck’s shape will affect your skateboard’s stability and maneuverability, so choose a shape that suits your riding style.

Consider the length and width of the deck to ensure it can accommodate your feet comfortably. Additionally, look for a deck with good flex and concave for a more responsive ride.
Overall, selecting the right deck is crucial for building a DIY electric skateboard that is stable, reliable, and enjoyable to ride.
2. Trucks
When it comes to DIY electric skateboards, choosing the right trucks is essential for stability and maneuverability.
Start by selecting trucks that match the width of your deck. Opt for quality trucks made of durable materials like aluminum.

Consider the riding you’ll be doing – if it’s mainly for cruising, go for traditional kingpin trucks, but if you plan on hitting the streets or skate parks, consider reverse kingpin trucks for better handling.
Ensure the trucks have a good turning radius and come with quality bushings. Finally, tighten the trucks to the desired level for a comfortable and secure ride.
3. Wheels
When it comes to DIY electric skateboards, choosing the right wheels is crucial for a smooth and comfortable ride.
Consider the diameter and hardness of the wheels depending on your riding style and the terrain you’ll be riding on.

Larger wheels with a higher durometer rating are ideal for cruising and rougher surfaces, while smaller, softer wheels are better for maneuverability and tricks. Ensure the wheels have a good grip and are made of durable materials like urethane.
It’s essential to regularly check and rotate the wheels to ensure even wear and maximize their lifespan.
When assembling your DIY electric skateboard, ensure these mechanical components are high quality and suitable for your riding needs.
Electronic Components
Electronic components are the backbone of all electronic devices. These little guys are like the building blocks of the electronic world. Let’s dive into the tiny yet mighty world of electronic components.
1. Battery
Choose a high-quality lithium-ion battery with sufficient capacity and voltage to power your electric skateboard. Consider factors like weight, range, and charging time when selecting a battery.

It’s crucial to ensure that the battery is compatible with the voltage requirements of the other electronic components.
2. BMS
The Battery Management System (BMS) is a crucial component in your DIY electric skateboard that helps protect and monitor the battery.
It balances the cells during charging, prevents overcharging and discharging, and provides temperature protection.
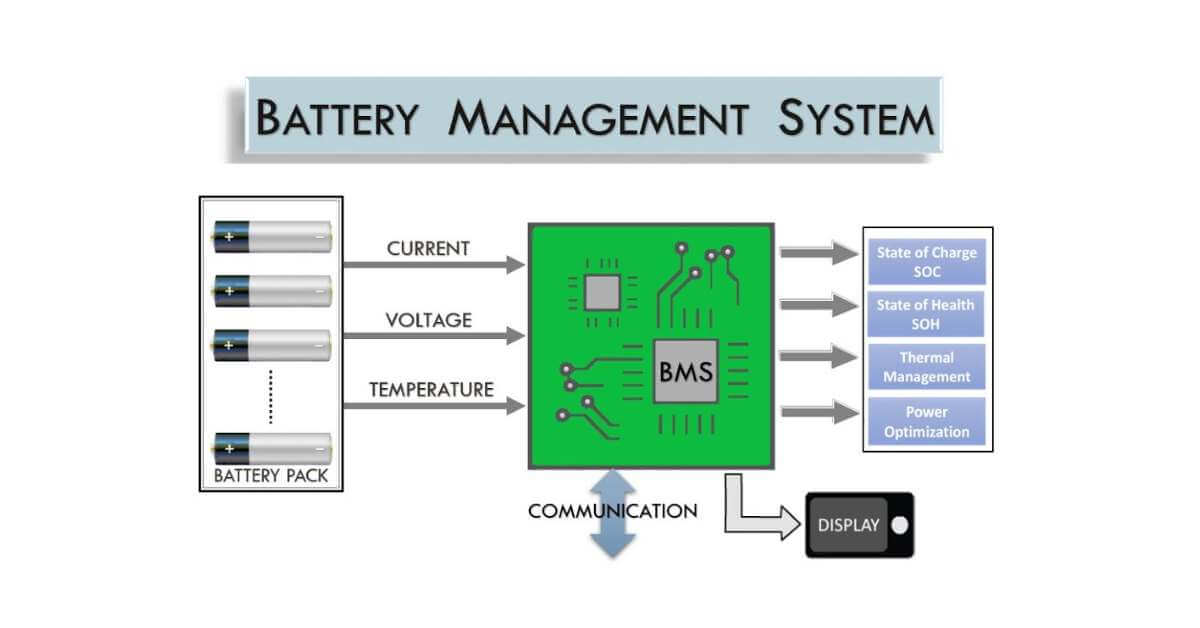
To install the BMS, connect the positive and negative terminals of the battery to the BMS, and then connect the BMS to the ESC. Ensure that the BMS is compatible with your battery voltage and capacity.
Once installed, the BMS will help prolong the lifespan of your battery and ensure the safe and efficient operation of your electric skateboard.
4. ESC
To build your DIY electric skateboard, you will need an Electronic Speed Controller (ESC) to control the motor’s speed and direction. Connect the ESC to the battery, motor, and receiver.
Make sure the ESC is compatible with your battery voltage and motor specifications. Calibrate the ESC according to the manufacturer’s instructions to ensure smooth operation.
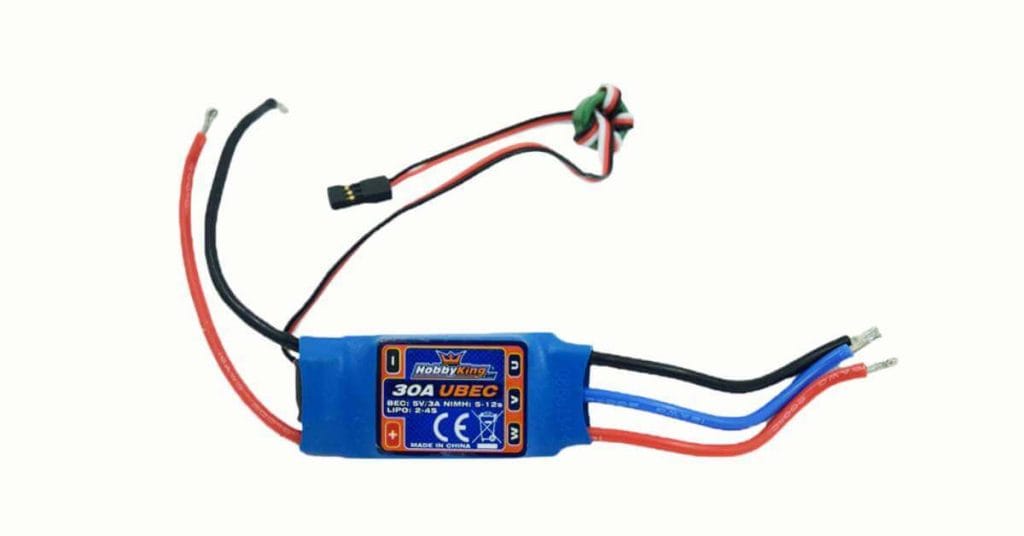
The ESC acts as the central control unit for your electric skateboard, allowing you to accelerate, brake, and control the overall performance.
Take the time to properly install and configure your ESC to ensure a safe and enjoyable riding experience.
5. Motors
You will need motors to provide the power and propulsion to complete your DIY electric skateboard. Choose motors that are compatible with your battery voltage and ESC.
Install the motors onto the trucks, making sure they are securely attached. Connect the motors to the ESC using the appropriate wires and connectors. It’s crucial to align and center the motors to ensure smooth operation properly.
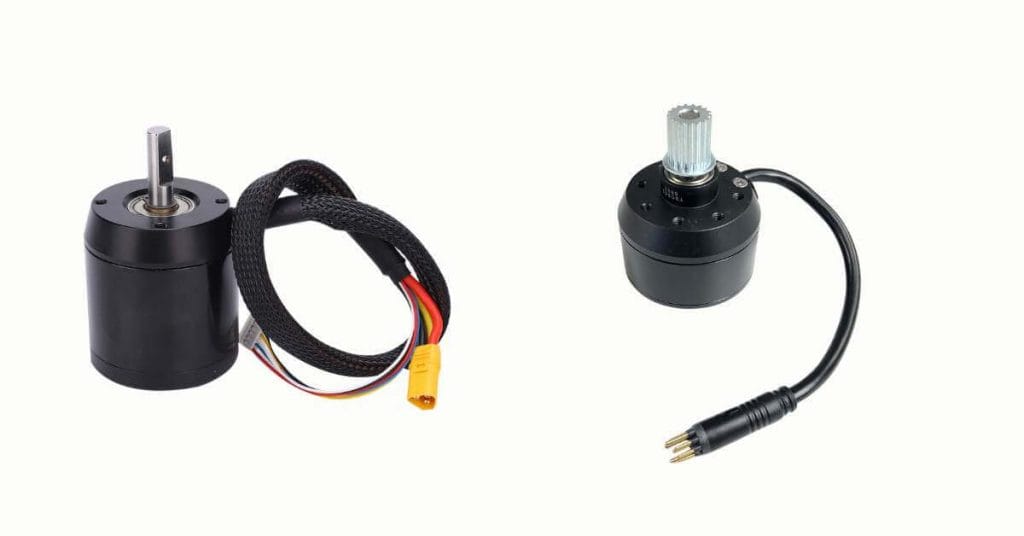
Take the time to calibrate the motors according to the manufacturer’s instructions to optimize their performance. Test the motors to ensure they run smoothly and provide the desired speed and acceleration.
You’ll have a powerful electric skateboard with properly installed and calibrated motors ready to ride.
6. Remote
To control your DIY electric skateboard, you will need a remote. Choose a remote compatible with your ESC and offers a comfortable grip.
Pair the remote with the ESC according to the manufacturer’s instructions. Test the remote to ensure it accurately controls the speed and braking of your skateboard.
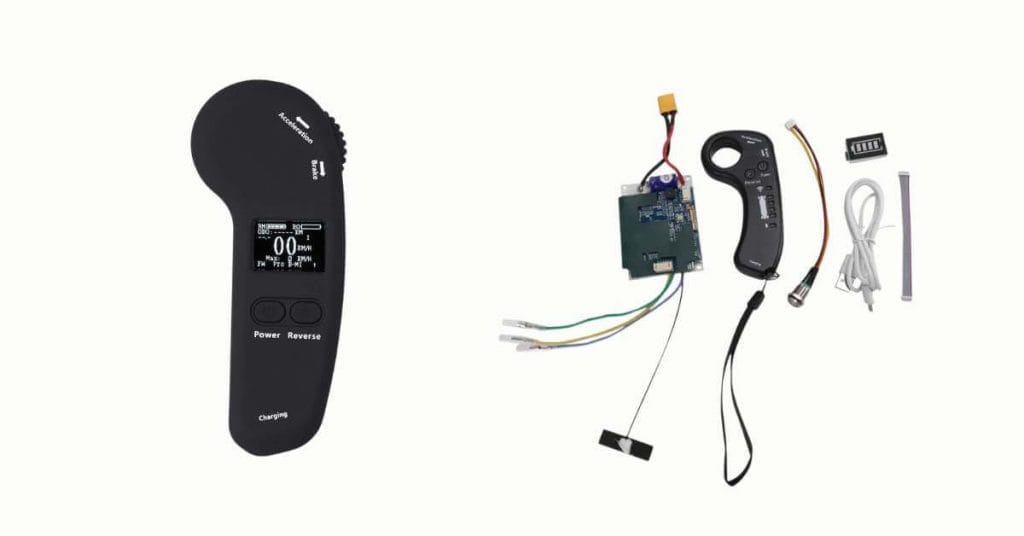
Familiarize yourself with the remote’s features, such as different modes and switch positions. It’s essential to keep the remote charged and within reach while riding.
With a reliable remote, you’ll have full control over your electric skateboard and enjoy a smooth and enjoyable ride.
7. Antispark Switch
An essential component of your DIY electric skateboard is the Antispark Switch. This switch helps prevent sparks or damage to your electrical system when you power on your skateboard.
To install the Antispark Switch, locate the positive wire from your battery and connect it to the switch’s input. Then, connect the switch’s output to your ESC’s input.
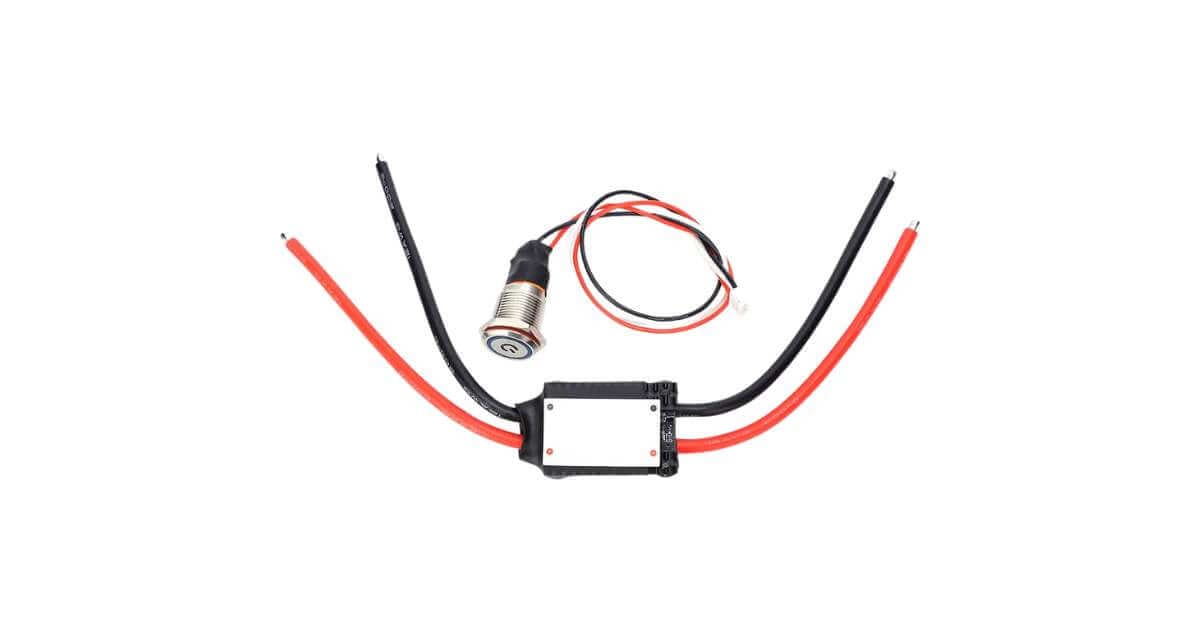
The Antispark Switch is a safety feature that allows you to turn on and off without damaging the electronics.
Remember to test the switch before riding to ensure it is functioning correctly.
How to Build a DIY Electric Skateboard (Step-by-Step Guide)
In this section, I’ll show you each step in a super easy way. No stress, no fancy tools. Let’s get started!
Step 01: Set Up the Deck
Pick a strong and stable DIY electric skateboard deck that feels good under your feet. Drill holes if you need to run wires or mount parts. Wipe it down so it’s clean and dry before adding anything else. A good deck is key to building a solid electric skateboard DIY setup.
Step 02: Attach the Trucks and Wheels
Grab your trucks and screw them onto the bottom of the deck. Make sure they are straight and tight. Then slide the wheels onto the trucks. Spin each wheel to check it moves smoothly without sticking. This is the base for all DIY electric skateboard parts to come together.
Step 03: Install the Motor Mount
Now it’s time to set up the motor. Attach the motor to the rear truck with a DIY electric skateboard motor mount kit. It should feel solid, not loose. If you use a belt drive, add the pulley to both the motor and the wheel. This step will build the best DIY electric skateboard.
Step 04: Connect the Drive System
With belt drives, wrap the belt around both pulleys. It should be snug but not stretched tight. For DIY electric skateboard hub motor builds, the motor sits inside the wheel. Just plug it in with the correct wires. Whether it’s a belt or hub motor, both can work great in your electric skateboard DIY plan.
Step 05: Add the ESC
The ESC (Electronic Speed Controller) goes near the battery. You can place it under the board or inside a box. Use the matching wires to connect it to the battery and motor. Follow the colors and labels so you don’t mix them up. A reliable DIY electric skateboard ESC helps control your ride safely.
Step 06: Mount the Battery
Secure the battery using straps or a case. Keep it in the center of the board to balance the weight. Connect it to the ESC and make sure the wires are neat and off the ground. For a cheap DIY electric skateboard, choose a battery that’s light yet strong.
Step 07: Connect the Remote
Use the remote’s manual to link it to your ESC. Most DIY electric skateboard remote systems connect without wires. Once paired, you’ll be able to control speed and brakes with ease. A smooth remote connection gives you full control over your board.
Step 08: Secure All Wires
Messy wires can be a hazard. Use zip ties or tape to hold them down tight. Check that no wires stick out or drag as you ride. Keeping your DIY electric skateboard parts list organized helps you avoid trouble later.
Step 09: Test Your Board
Before you hop on, do a full check. Turn everything on. Use the remote to spin the wheels. Make sure it speeds up and slows down without any problems. Check your brakes, too! This final step brings your electric skateboard DIY project to life.
Step 10: Bonus Tip – DIY Off-Road Electric Skateboard
Want to ride on trails or grass? You can turn your setup into a DIY off-road electric skateboard by using bigger wheels and stronger trucks. This adds more fun and adventure to your ride.
Frequently Asked Questions (FAQs)
How long does it take to build a DIY electric skateboard?
The time it takes to build a DIY electric skateboard varies depending on your experience and the complexity of the build. Generally, it can take a few hours to a few days.
Do I need any special tools to build a DIY electric skateboard?
Yes, there are some tools you will need to build a DIY electric skateboard, such as a drill, screwdrivers, wrenches, a soldering iron, and heat shrink tubing.
Is it challenging to build a DIY electric skateboard?
Building a DIY electric skateboard requires some technical knowledge and basic electrical skills. While it may seem challenging initially, many online resources and tutorials are available to help guide you through the process.
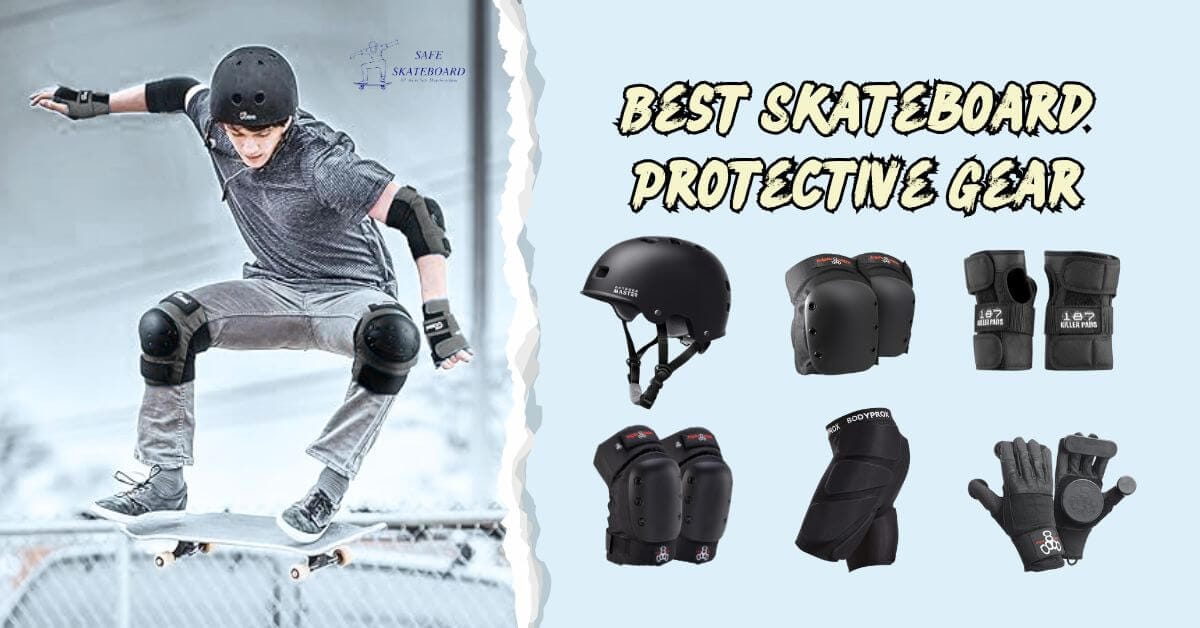
Is it safe to ride a DIY electric skateboard?
When properly built and maintained, DIY electric skateboards can be ridden safely. It’s essential to follow safety guidelines, wear protective gear, and regularly inspect your skateboard for maintenance or repair needs.
Final Verdict
Building a DIY electric skateboard can be a rewarding and exciting project for those who enjoy hands-on activities and want to customize their own ride.
You can create a unique electric skateboard with suitable materials and tools that suit your preferences and riding style.
While it may require some technical knowledge and basic electrical skills, abundant online resources and tutorials are available to guide you.
Remember to prioritize safety by wearing protective gear and regularly maintaining your electric skateboard. By building your own electric skateboard, you save money and gain a deeper understanding of how it works and the ability to personalize it to your liking.