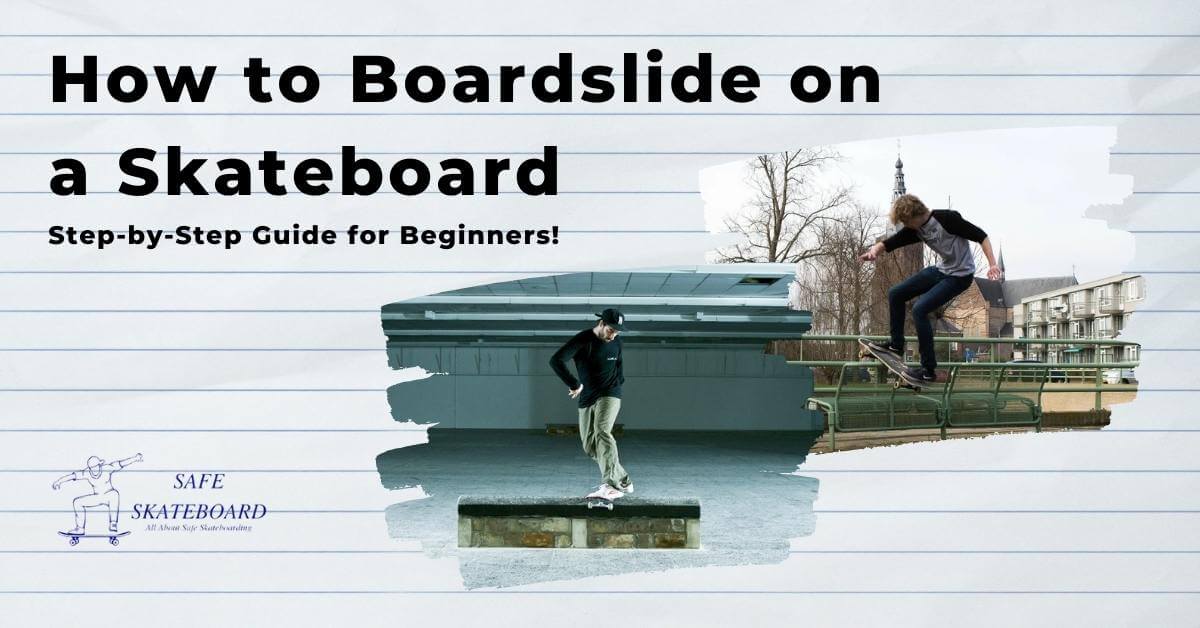
The boardslide is the first rail trick every intermediate skateboarder should learn. It’s one of the most rewarding skateboard tricks to building your skills for more advanced slides.
In this guide, I’ll break it all down—from the basics of balance to mastering backside and frontside boardslides.
So grab your board, wax up that rail, and let’s get started on landing your first boardslide!
What is a Boardslide Grind?
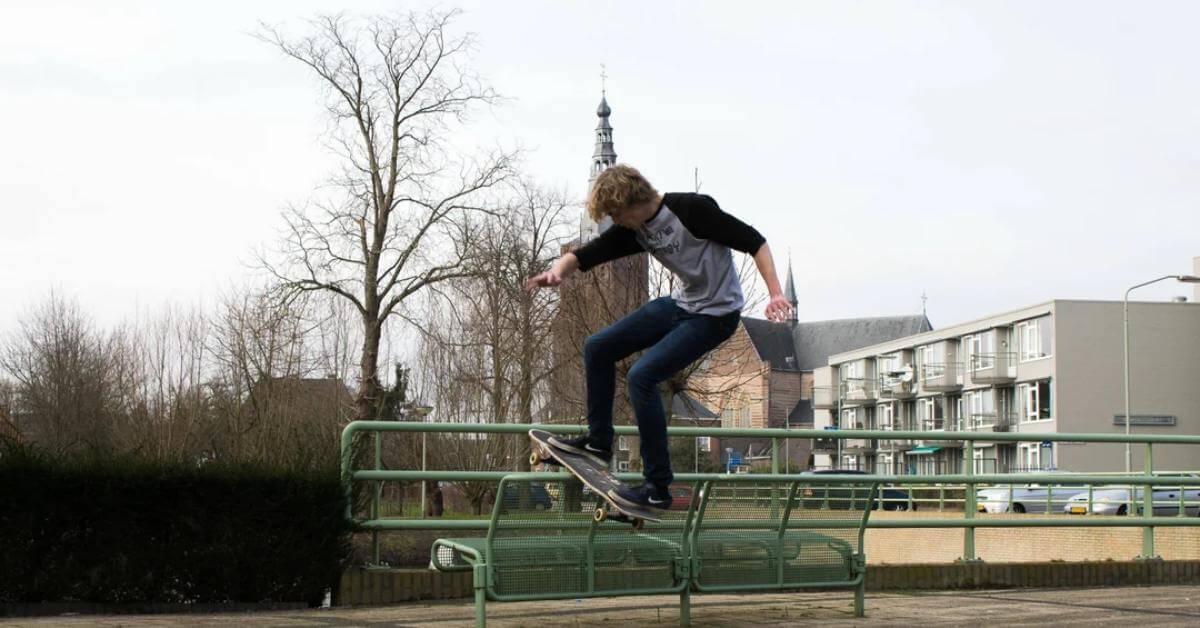
A boardslide is one of the most iconic skateboarding grind tricks and a rite of passage for intermediate skaters. It involves sliding along a rail or ledge with the underside of your skateboard, balancing between control and momentum.
Types of Boardslides
There are two variations of these tricks, Here shown below:
- Backside Boardslide: Approach the rail with your back to it, slide forward, and face the direction you’re moving.
- Frontside Boardslide: Approach the rail with your chest facing it, slide backward, and face away from the direction you’re moving.
It’s an essential trick that bridges beginner and advanced skateboarding skills.
What You Need Before Starting
Before you try this trick, make sure you have the basics down:
- Ollies: You’ll need a clean ollie trick that’s at least as high as the rail or ledge you’re using.
- Safety Gear: Always wear essential protective gear & outfits, like a helmet and pads, to protect yourself while learning.
- Flat Rail or Ledge: Start with a flat, square rail close to the ground. Wax it to reduce friction and make sliding easier.
How to Do a Backside Boardslide Trick on a Skateboard: Step-by-Step Guide
In this section, I’ll show you how to land a clean backside boardslide. I will break it down into simple steps so you can learn fast, stay safe, and have fun while building your skate skills.
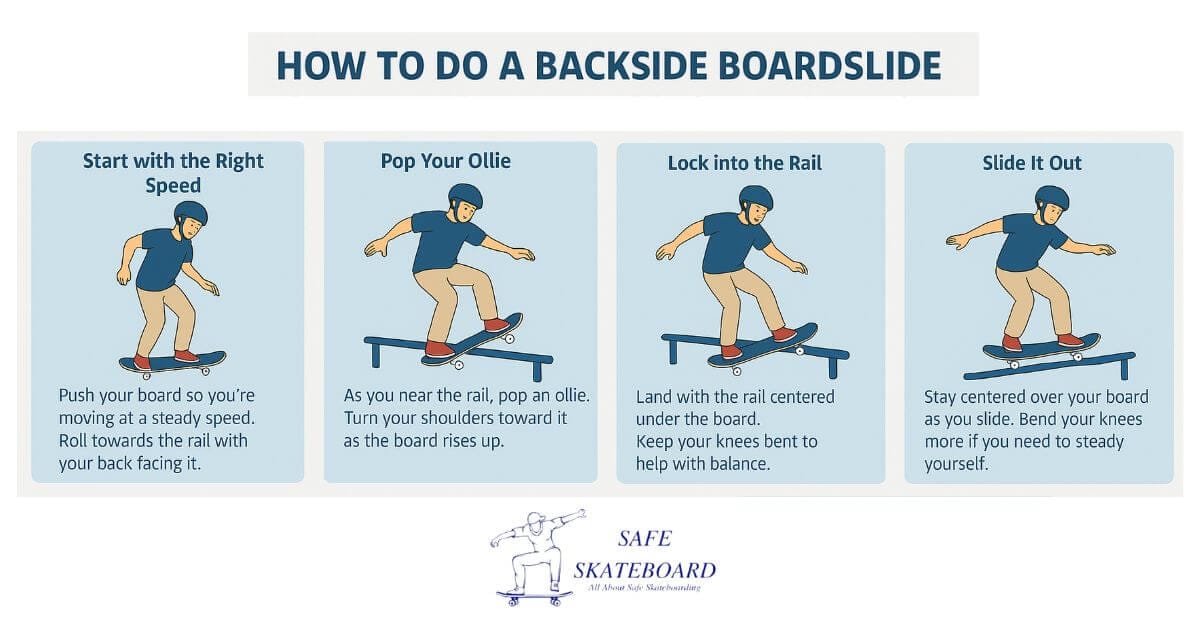
Step 01. Start with the Right Speed
Start by pushing your skateboard at a steady, smooth speed. You don’t want to go too slow, or you’ll stop on the rail. Go too fast, and you might slip or fall. Try to roll at a pace that feels just right. Approach the rail with your back facing it. Keep your eyes on the spot where you plan to ollie. Stay relaxed and focused.
Step 02. Pop an Ollie
As you reach the rail, get ready to pop an ollie. Place your back foot on the tail and your front foot near the bolts. Push down with your back foot to pop. At the same time, turn your shoulders toward the rail. This twist helps turn your board sideways. Keep your body loose but in control.
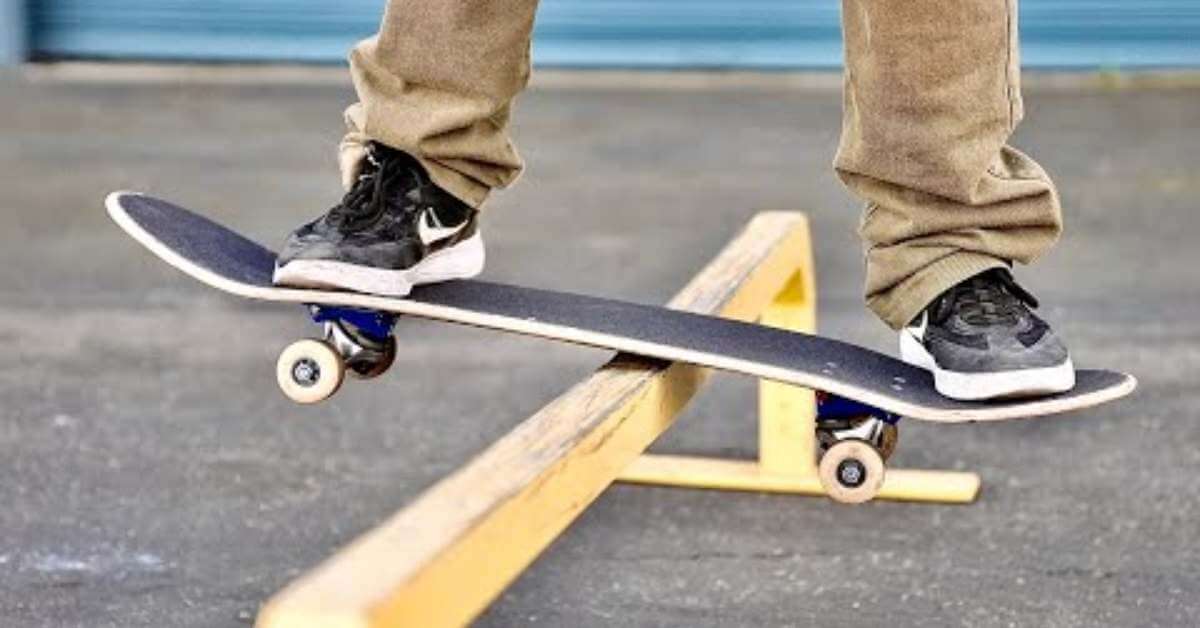
Step 03. Land on the Rail
Now comes the fun part. Aim to land with the rail right under the center of your board. The board should be sideways, about a 90-degree angle to the rail. Bend your knees as you land. This helps you stay balanced and smooth. Keep your feet over the bolts and your eyes forward.
Step 04. Slide Along the Rail
Once you’re locked in, stay calm. Let your momentum carry you across the rail. Keep your weight in the center, don’t lean too far forward or back. It’s okay to bend your knees more if it helps. Try not to shift your feet. Just let your board glide with the motion. Trust the slide.
Step 05. Come Off Smooth
As you reach the end of the rail, start turning your shoulders back to face forward. Your board will follow that movement. This helps you land in the right direction. Keep your knees bent and prepare to roll away. Try to stay low and centered. Stick the landing and ride it out!
How to Do a Frontside Boardslide Trick on a Skateboard: Step-by-Step Guide:
The frontside boardslide is more challenging since you’ll be sliding backward. Here’s how to master it:
Step 01. Approach the Rail
Push at a steady speed and approach the rail with your chest facing it. Align your board at a slight angle to the rail.
Step 02. Ollie Onto the Rail
Pop an ollie that’s high enough for your front wheels to clear the rail completely. Land with the board straddling the rail at a 90-degree angle.

Step 03. Slide and Balance
Slide backward along the rail, keeping your knees bent and your weight centered. Look over your shoulder to keep track of your position.
Rotate your lower body as you approach the end of the rail to align with the ground. Land smoothly and skate away.
Backside Boardslide vs. Frontside Boardslide
Let’s explore the key differences between the backside and the frontside:
| Feature | Backside Boardslide | Frontside Boardslide |
| Approach | Back facing the rail | Chest facing the rail |
| Slide Direction | Forward, facing the direction of movement | Backward, facing away from the direction of movement |
| Visibility | Clear view of the rail during the slide | Limited view, as you’re sliding backward |
| Ollie Requirement | Moderate height to clear the rail | A higher ollie needed to position the board properly |
| Ease of Learning | Easier for beginners; feels more natural | Harder; requires more control and balance |
| Best for Beginners? | Yes, it is a great starting trick for learning rail slides | No, more suited for skaters with experience in sliding |
Frequently Asked Questions (FAQ)
What is the easiest rail trick for beginners?
The backside boardslide is often considered the easiest rail trick because it offers better visibility and requires less technical precision compared to other rail tricks
Why does my board stick to the rail when I try to boardslide?
This often happens because the rail isn’t waxed enough. Apply skate wax to the rail to reduce friction and ensure smoother slides.
What’s the next trick to learn after mastering the boardslide?
Once you’ve mastered these tricks, you can progress to tricks like lipslides, 50-50 grinds, or boardslides on round rails for a greater challenge.
Final Words
Hope you understand these tricks and how it’s work! It’s not just about learning a trick; it’s about building confidence, sharpening your skills, and opening the door to more advanced maneuvers.
So grab your board, hit the rail, and keep pushing yourself. Your first successful boardslide is just the beginning of your skateboarding journey.
Ready to level up? Get out there and make it happen!