Skateboard trucks are the backbone of your board. They control how you turn and balance. Over time, they can help you break, especially when you’re into tricks or grinding. If your trucks are old or damaged, it’s time to replace them. But the question is, how to replace skateboard trucks? Don’t worry, it is easy to do!
In this article, I will show you how to change trucks on a skateboard using a step-by-step process.
So, Are you ready to get your skateboard like new again? Then grab your skate tools, and let’s get started!
Why Replace Skateboard Trucks?
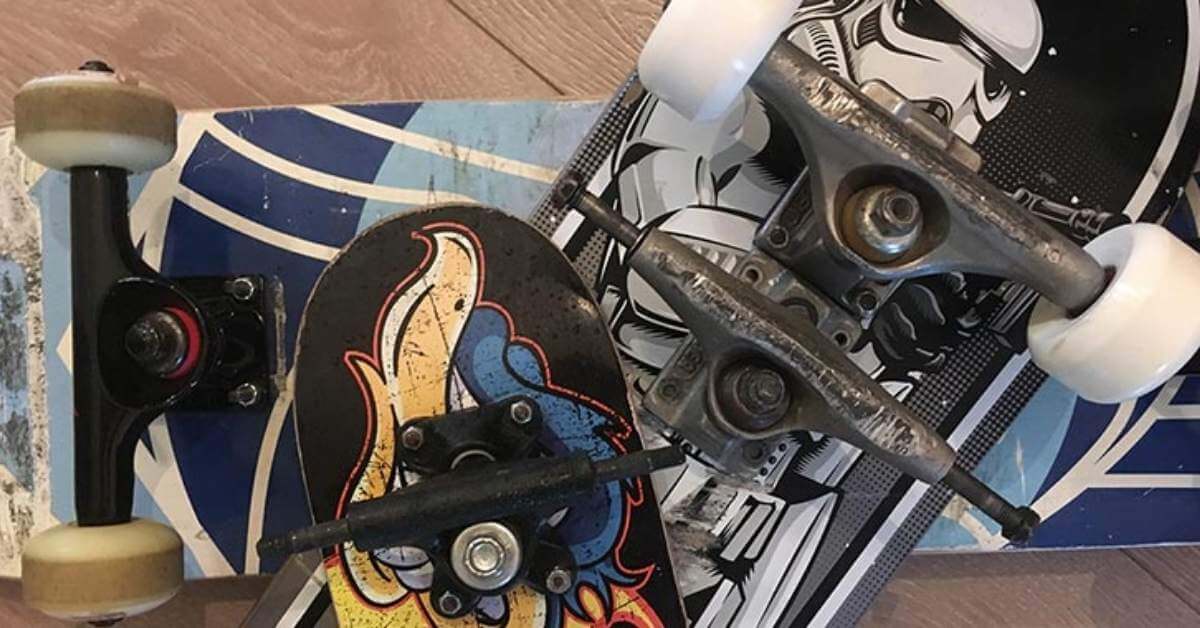
First of all, you need to know why replacing trucks is important. Skateboard trucks endure constant pressure and impact. Here’s when to replace skateboard trucks:
- Bent or Damaged Axles: Your wheels won’t spin straight.
- Cracked Baseplate or Kingpin: This compromises the truck’s strength.
- Worn Bushings: If turning feels stiff or uneven, it might be time for a skateboard truck replacement.
- Rusty or Stripped Hardware: This makes adjustments difficult or impossible.
Keeping your trucks in good condition ensures a smooth and safe skateboard ride.
What Tools Do You Need to Change Skateboard Trucks?
Secondly, you can prepare the right tools. The tools are simple, and you might already have them:
- Skate Tool: Includes all the sockets and a screwdriver in one tool.
- Phillips Head Screwdriver: For screws with Phillips heads.
- Socket Wrench: To hold the nuts securely while you work.
If you’re missing any of these, skate tools are affordable and convenient for all your skateboard maintenance needs.
How to Replace Trucks on a Skateboard: Step-by-Step
Ready to give your skateboard a fresh start? Here is a complete guide to changing your skateboard trucks. This step-by-step guide will make the process quick and easy. Follow these steps, and let’s dive in!
Step 1: Remove the Old Trucks
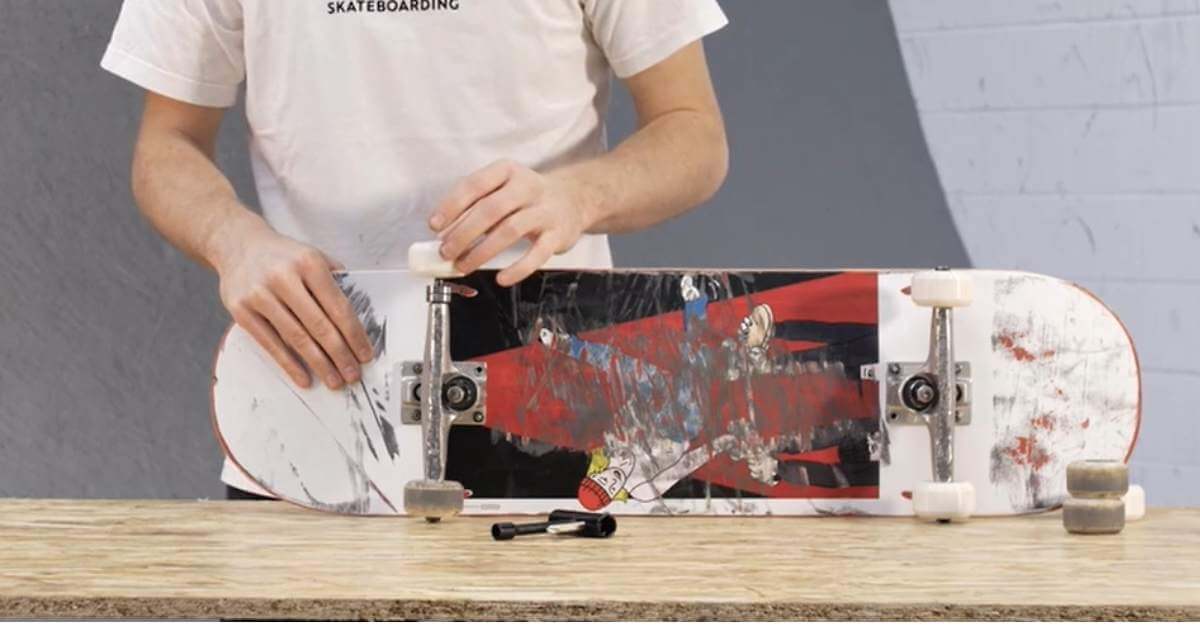
First of all, you need to flip your skateboard so the grip tape faces the floor. This gives you access to the screws and nuts.
- Hold one of the nuts under the deck with your skate tool or socket wrench.
- Use a Phillips head screwdriver to turn the screw on top counterclockwise.
- Repeat for all four screws on both trucks.
- When the screws are free, lift the trucks off the deck.
Save the screws and nuts unless you’re using new skateboard truck replacement parts.
Step 2: Inspect and Prepare the Hardware
Then, you can check the condition of your hardware and deck:
- Look at your screws and nuts. Are they rusty or broken? If yes, replace them with new ones.
- Clean the underside of your board to ensure a smooth installation.
- If you’re using riser pads, place them over the holes on your deck. These are optional but useful for reducing pressure cracks or accommodating larger wheels.
Related Article: How to Change Skateboard Wheels!
Step 3: Put on the New Trucks on Your Skateboard
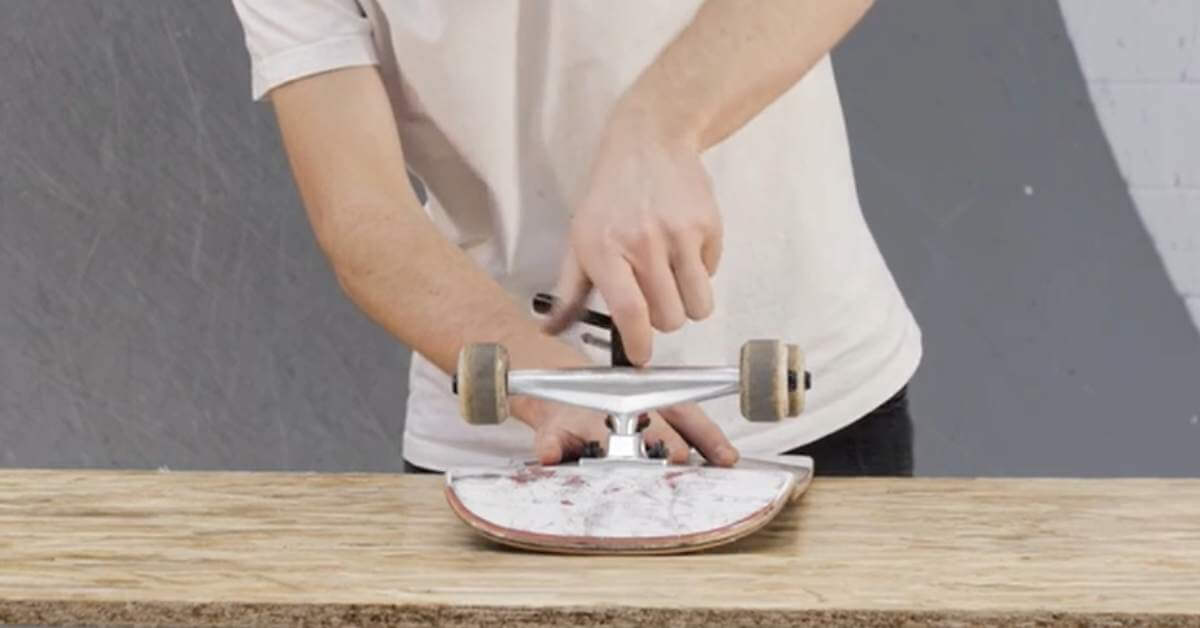
Next, mount the new truck on the skateboard. Make sure the kingpin (the big bolt) faces the center of the board.
- Line up the holes in the truck with the holes in the deck.
- Push the screws through the holes.
- Put the nuts on the screws. Turn them with your fingers to keep the truck in place.
Do this for both trucks.
Step 4: Tighten the Trucks Securely
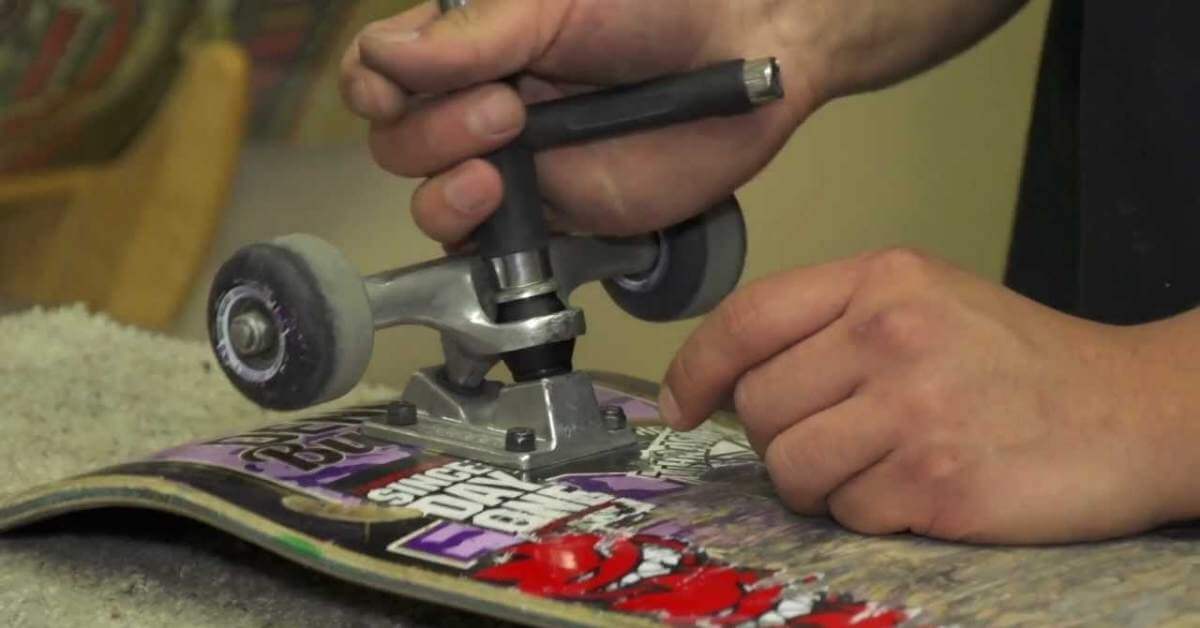
Finally, you need to tighten your skateboard trucks so they stay firmly attached.
- Use your skate tool or socket wrench to hold the nut.
- Tighten the screw clockwise with your screwdriver.
- Tighten all screws in a crisscross pattern (similar to car wheels). This keeps the truck level.
Make sure the screws are tight, but avoid over-tightening, which can damage the deck or strip the screws.
Step 5: Test the Trucks
Now, it’s time to test your skateboard to make sure everything is working. This step is quick and simple.
- Push on the trucks with your hand. They should feel secure with no wobbling.
- Stand on the board and lean from side to side. The trucks should turn smoothly. If they feel too stiff or too loose, adjust the kingpin nut.
- Take your board for a short ride. Start slow. Make small turns and test how it feels.
If anything feels off, recheck the screws and nuts. Testing ensures your skateboard is safe and ready for action.
FAQs About Replace Skateboard Trucks
Can I Reuse Screws When Replacing Trucks?
Yes, if they’re not stripped, rusty, or damaged. Otherwise, it’s best to replace them with new hardware.
How Often Should I Replace Skateboard Trucks?
It depends on how often you skate. Regular skaters should inspect their trucks every 6 months to a year for damage. Replace them as needed.
Do I Need Riser Pads?
Riser pads are optional but recommended if you want to reduce pressure cracks or prevent wheel bite with larger wheels.
Executive Summary
Congratulations! You’ve just learned how to replace skateboard trucks like a pro. This essential skill keeps your board in top shape. Remember, the right trucks can make all the difference in how you ride, turn, and land those tricks.
Now it’s your turn! Grab your tools, follow these easy steps, and get your board ready to shred.
Do you have questions or tips of your own? Drop a comment below! Don’t forget to share this guide with fellow skaters who could use a little DIY know-how.


