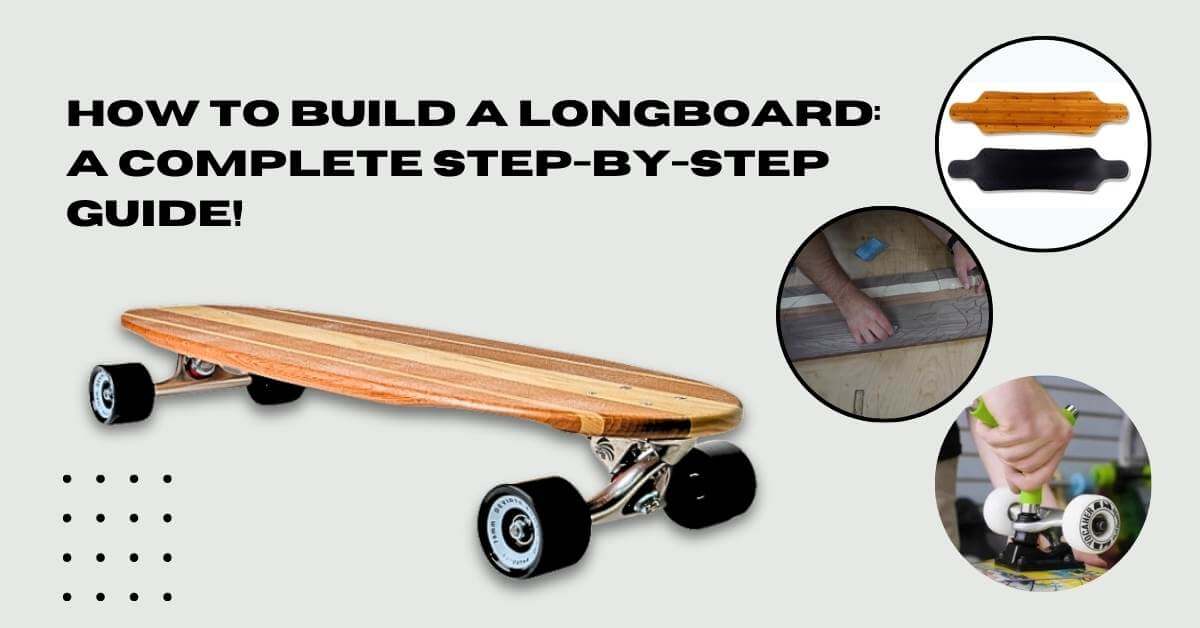
If you’ve ever wondered how to build a longboard and thought it was only for the pros, think again. Crafting your longboard is a rewarding DIY project that puts you in control of every detail—from the deck shape and grip to wheel style and trucks.
Not only does this give you a board tailored to your exact riding style, but it also saves money and builds a deeper connection to the sport.
In this guide, I will walk you through each process step, breaking down the tools, materials, and techniques.
That’s what you’ll need to create a custom longboard that performs just as well as it looks. So, Grab your tools, and let’s dive in!
Choosing the Type of Longboard Deck
Longboards come in various styles, each catering to specific riding styles. Like cruising, downhill, or freestyle. Consider the following options:

- Cruiser Decks: Designed for smooth, easy rides, perfect for urban cruising and commuting.
- Downhill Decks: These are rigid, stable boards for high speeds and stability.
- Freestyle/Freeride Decks: Allow for tricks, carving, and multi-terrain use, often with a flexy deck.
Your deck’s shape, length, and flexibility will depend on the type of longboarding you plan to do.
Essential Materials and Tools
Materials You Must Need:
- Hardwood Strips: Hardwood Strips are Strong woods like oak, maple, or walnut for durability.
- Wood Glue: Water-resistant glue is recommended for outdoor use.
- Polyurethane Spray: Protects and adds a sleek finish to the deck.
- Grip Tape: Ensures your feet stay secure on the deck.
- Skateboard Hardware: Trucks, wheels, bearings, and mounting hardware.

Essential Tools:
- Saw: A band saw or jigsaw is used to shape the deck.
- Sander or Sandpaper: Essential for smoothing the deck.
- Clamps: Keeps glued materials tight while drying.
- Drill: Necessary for mounting trucks and other hardware.
Step 1: Preparing the Wood Deck
- Select Hardwood Strips: Choose a hardwood that offers both strength and flexibility. These woods can withstand impacts and prevent breakage.
- Cut and Arrange Strips: Cut the strips slightly longer than your intended board length. Then arrange them side-by-side to form a panel.
- Glue the Panel: Apply an even layer of wood glue to the edges and clamp the strips together. Then allow 24 hours for the glue to cure.
- Flatten the Panel: Once it’s dry use a planer to ensure a flat even surface.
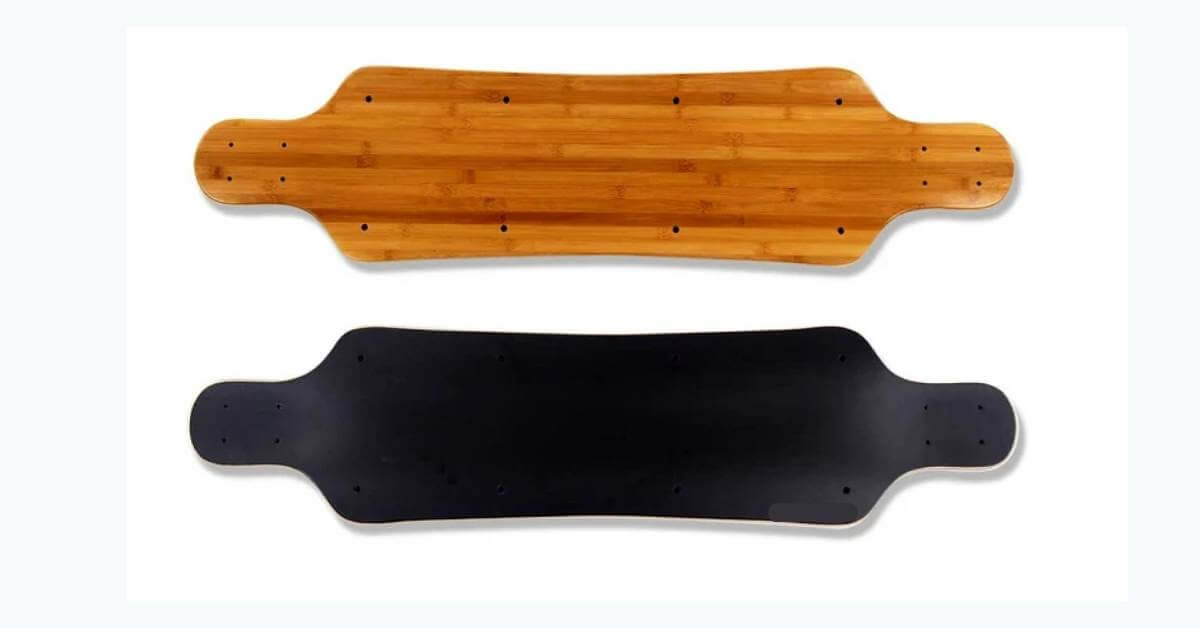
Step 2: Shaping the Deck
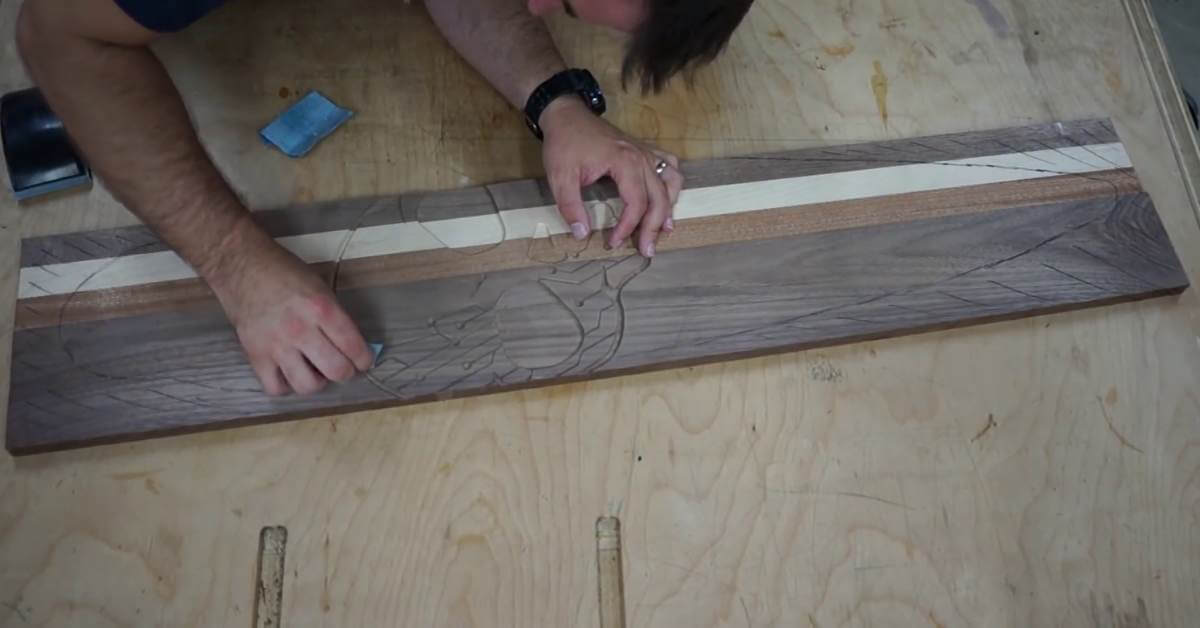
- Design Your Shape: Use paper or cardboard to draft the shape of your longboard. Common options include pintail, drop-through, or kicktail shapes.
- Trace and Cut: Place your template on the panel. Then trace the outline onto the wood. Using a band saw or jigsaw cut along the traced lines carefully.
- Drill Truck Holes: Measure and mark where the trucks will be mounted. Drill holes for the bolts. Ensuring they are aligned symmetrically for balanced performance.
Step 3: Sanding and Smoothing the Surface
- Sand the Edges: Use coarse-grit sandpaper to smooth out the edges of the deck. Then move to finer grits for a polished edge.
- Smooth the Surface: Sand the top and bottom of the deck. Finishing with 320-grit sandpaper for a sleek surface that’s ready for finishing.
- Add Curves: Use a spokeshave or chisel to create subtle curves or concaves for foot placement. This step is optional but recommended for better grip and control.
Step 4: Finishing and Applying Grip Tape
- Apply Finish: Using a polyurethane spray, coat the deck’s top and bottom for added protection against weathering. Then allow each layer to dry fully before applying the next.
- Add Grip Tape: Once the finish is dry. Carefully lay grip tape over the top surface of the deck. Press down firmly to prevent air bubbles. Then trim the edges using a utility knife.
Step 5: Setting Up Hardware
- Install Bearings in Wheels: Place a bearing on each side of the wheels. Then add spacers if desired for extra stability. However, you can read How to put longboard wheels.
- Attach Trucks: Position your trucks on the drilled holes. Ensuring they’re aligned correctly for optimal handling. Use the hardware bolts to secure them.
- Align and Test: Make sure all components are snug and the wheels spin freely. Adjust the trucks to your preferred tightness. Tighter trucks provide stability. While looser trucks allow for better turns.

Final Touches and Testing
- Inspect the Build: Double-check that all bolts and components are secure and the finish is dry.
- Test Ride: Take your board out for a test ride, adjust the trucks, and get a feel for how they handle them. Ride on a flat surface at first to ensure the board’s stability and responsiveness.
Tips for Maintaining Your Longboard
- Regular Cleaning: Wipe down the board regularly to remove dirt and moisture that can warp the wood.
- Inspect Hardware: Periodically check the trucks, bolts, and wheels for any signs of wear or loosening.
- Store in a Cool, Dry Place: Keep the board away from extreme heat or humidity, which can damage the wood and grip tape.
Frequently Asked Questions (FAQs) About How to Build a Longboard
What materials are best for a longboard deck?
High-quality hardwoods like maple, oak, or bamboo are ideal for longboard decks due to their strength and durability.
How much does it cost to build a longboard?
Depending on the materials and tools you use, building a longboard typically costs between $50 and $150.
Can I build a longboard without any prior experience?
Absolutely! With a little patience and the right guide, beginners can successfully build their own longboards.
On A Final Note
I hope you’ve now learned how to build a longboard from scratch, bringing your vision to life one layer and bolt at a time.
By crafting each component yourself, you’ve created a custom board that fits your riding style and skill level.
Not only does building a longboard from scratch give you complete creative control, but it also deepens your connection to the ride, making every cruise that much more satisfying.
Now, grab your new board, hit the pavement, and enjoy the unique feel of riding something you built with your own hands. Happy longboarding!